Preparing road network Shapefiles and QGIS for editing
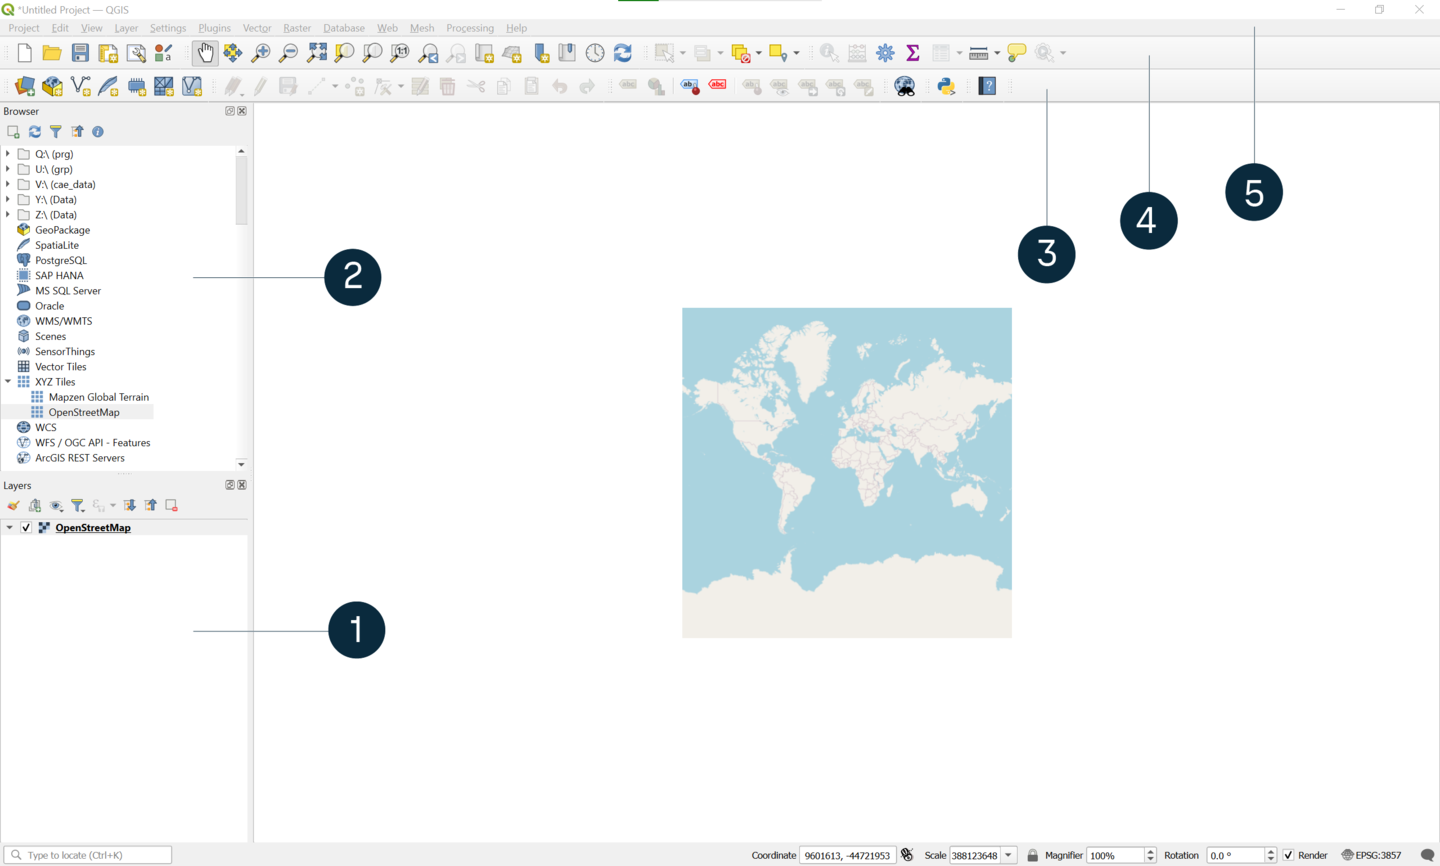
- 1
- Layers panel
- 2
- Browser panel
- 3
- Vector Toolbar
- 4
- Attributes Toolbar
- 5
- Menu Toolbar
- Launch QGIS.
-
Drag and drop a road network file from your computer to the Layers panel of QGIS.

Road network files are generally named gis_osm_roads_free_1.shp or similar. The road network shape file appears in the display window. -
To add a background map, in the Browser panel, select .
The background map appears in the display window, and is listed in the Layers panel. Re-order the layers by dragging and dropping them in the Layers panel to ensure your road network layer is on top.
- To make editing easier, turn the background layer to grayscale. In the Layers panel, right-click on .
-
Filter the road types to be included in your road network geometry.
If you have polygons, use them to do the filtering. For more information, see Choosing roads using polygons. -
Before starting any editing, it is advised to create a copy of the road network layer
and keep the original intact. If any road is deleted by mistake, it can be copied back in
from the original. In the Layers panel, right-click on the road network file name, select .
The Save Vector Layer as... window appears.
- Select .
- Select , and select a location to save the file.
- Type a file name.
-
Select .
A copy is saved and appears in the Layers panel.
-
Right-click the original layer, select .
The OpenStreetMap, and the new road network layer are displayed.
- To change the color of the new layer, right-click on your road network layer and select Properties. Select Symbology and a color from the drop-down options. Change the width to a suitable size (0.4 is recommended). Select .